
If you’re new to surfing, installing surfboard fins can be intimidating. But don’t worry, it’s actually a simple process that you can easily do yourself.
Fins are an essential part of your surfboard as they help with stability, control, and maneuverability. Installing them correctly can make a huge difference in your surfing experience.
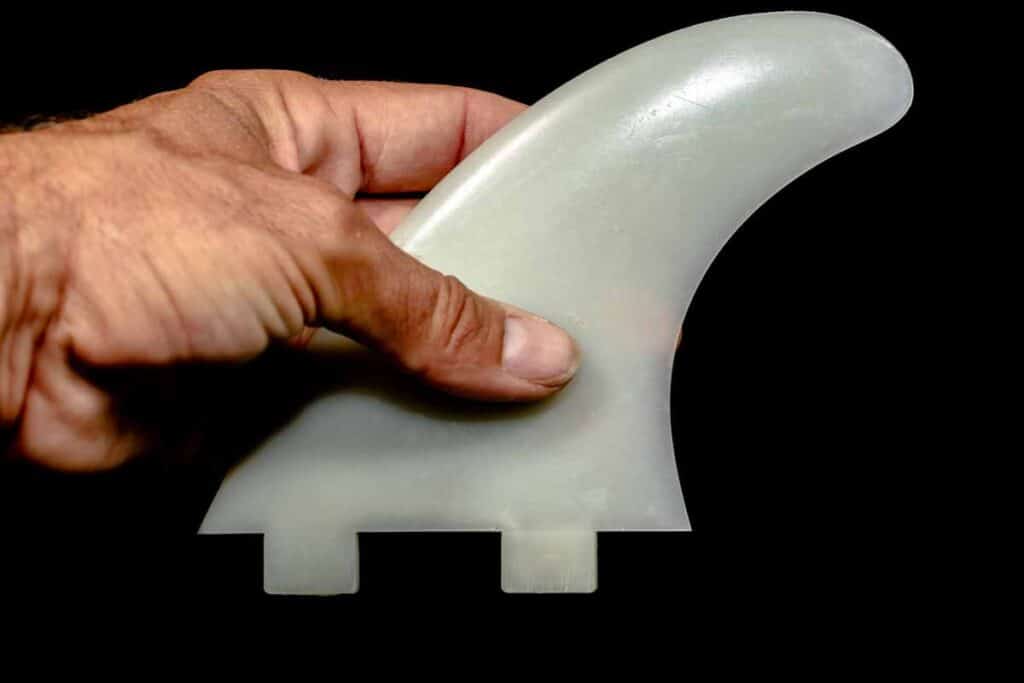
There are different types of fins and fin systems available, so it’s important to know which one you have before attempting to install them.
Some surfboards have a universal center box for longboard fins, while others use the FCS or Futures fin system. Make sure you have the right fins for your board and the correct tools for installation.
In this article, we’ll go over the steps on how to install surfboard fins for different types of fin systems. We’ll also provide tips on how to ensure a secure fit and how to remove fins if needed.
By the end of this article, you’ll have the knowledge and confidence to install your own surfboard fins and improve your surfing performance.
Types of Fin Systems

When it comes to installing surfboard fins, it’s important to understand the different types of fin systems available.
Here are some of the most common:
| Fin System | Description |
|---|---|
| FCS (Fin Control System) | FCS is a widely popular fin system that uses a plug and screw to secure the fins in place. It’s easy to install and remove fins, making it a great option for surfers who like to switch up their fins frequently. |
| Future Fins | Future Fins are another popular fin system that use a single screw to secure the fin in place. They offer a wide range of fin templates and materials to choose from, allowing surfers to customize their board for their specific needs. |
| US Fin Box | The US Fin Box is a versatile fin system that allows surfers to use a variety of fin types, including longboard fins. It uses a screw and plate to secure the fin in place. |
It’s important to note that different fin systems may require different installation techniques.
For example, FCS fins typically require a special key to tighten the screws, while Future Fins can be tightened using a standard screwdriver.
When choosing a fin system, consider your surfing style and preferences.
- Do you like to experiment with different fin templates and materials?
- Or do you prefer a simple, easy-to-use system?
By understanding the different types of fin systems available, you can make an informed decision and ensure your fins are installed properly for optimal performance.
Tools Needed
Installing surfboard fins requires a few essential tools to ensure a proper fit and secure installation.
Here are the tools you will need:
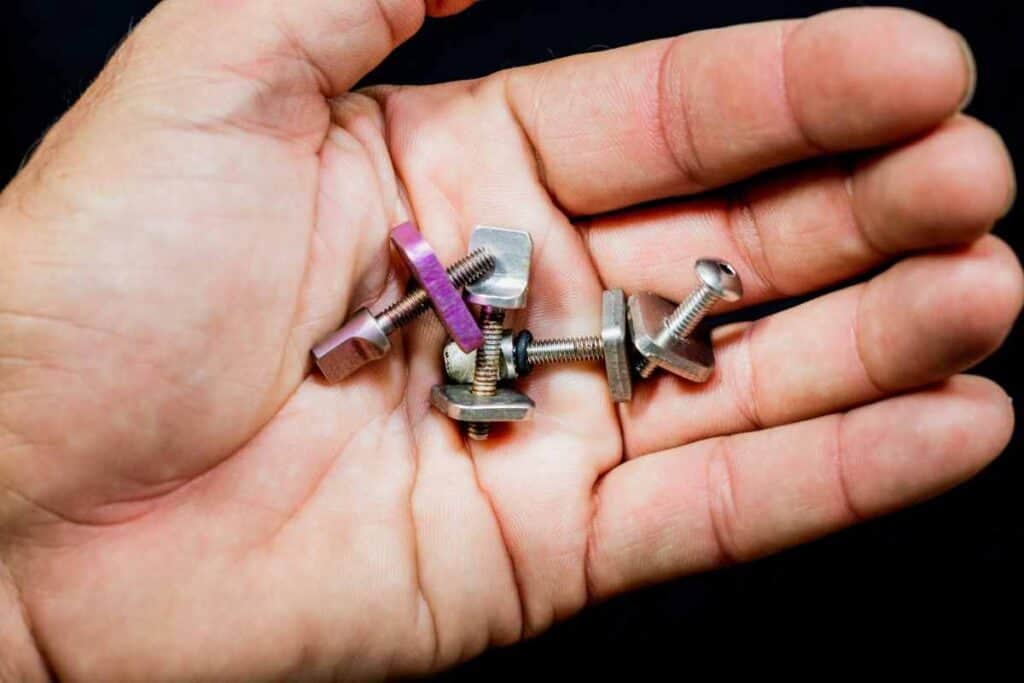
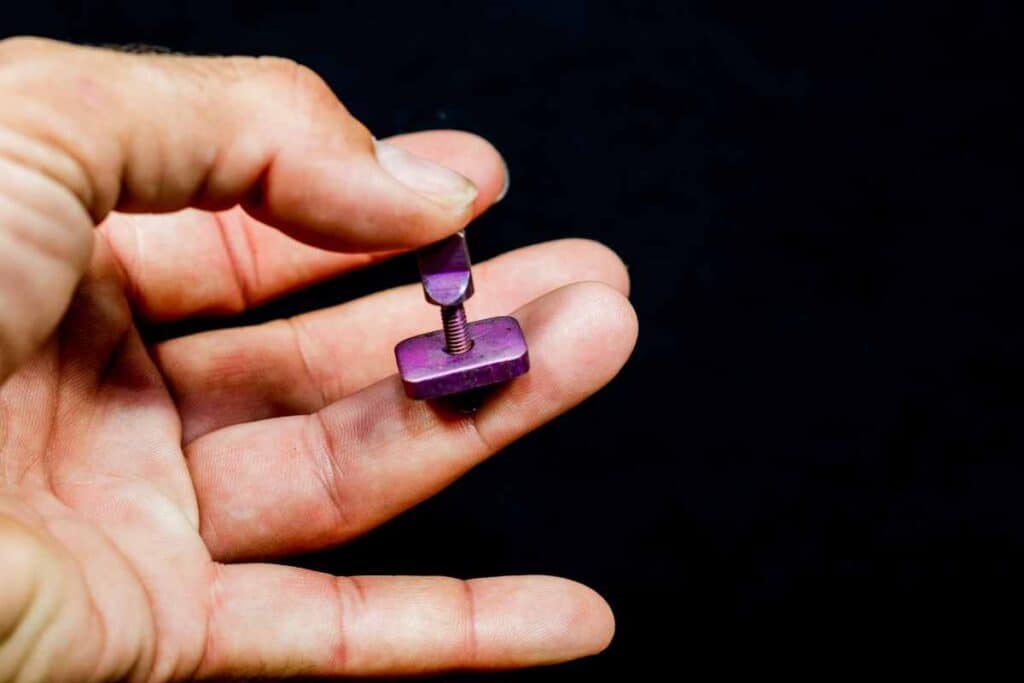
- Fin key or hex key
- Fin screws
- Fin box plug (for FCS II fins)
- Slide plate (for Futures boxes installation)
- Longboard center fin box spacer (for longboards and SUPs)
A fin key or hex key is necessary to tighten the screws that secure the fins to the board. Most surfboard fins come with the necessary screws, but it’s always a good idea to have extra screws on hand in case any get lost or damaged.
If you have FCS II fins, you will also need a fin box plug to fill the unused holes in the fin box. This will prevent water from entering the board and causing damage.
For Futures boxes installation, a slide plate is necessary to ensure a smooth and easy installation process. This tool allows you to install the fin with just one pass.
Finally, if you are installing a center fin on a longboard or SUP, you will need a longboard center fin box spacer. This tool ensures that the center fin is properly aligned and secured in the fin box.
Step-by-Step Guide to Installing Surfboard Fins
Installing surfboard fins is a simple process that can be done by anyone with the right tools and a little bit of patience.
Follow these steps to get your fins installed quickly and easily:
- Using the fin key provided, loosen all the screws in the fin boxes or plugs.
- Figure out what fin goes where. Tri Fins have three fins, with the larger center fin being in the middle and the smaller side fins located on the sides. Quad Fins have four fins, with two larger fins in the front and two smaller fins in the back. Single Fins have one fin that is placed in the center of the board.
- Insert the fins into the fin boxes or plugs. Make sure the fins are aligned correctly and facing the right direction. The curved side of the fin should be facing towards the back of the board.
- Tighten the screws in the fin boxes or plugs. Make sure the fins are snug and secure, but be careful not to overtighten the screws as this can damage the fin or the board.
- Double-check that the fins are aligned correctly and securely fastened. Give them a gentle tug to make sure they are not loose.
And that’s it! Your surfboard fins are now installed and ready to use. Remember to take good care of your fins and your board to ensure they last as long as possible. Happy surfing!
Tips and Tricks

Installing surfboard fins can be a tricky process, especially if you are new to surfing.
Here are a few tips and tricks that can help you install your surfboard fins with ease:
- Before installing your fins, make sure that your surfboard is clean and dry. Any dirt or moisture can interfere with the installation process and affect the performance of your fins.
- Use a fin key to tighten the screws that hold your fins in place. Make sure that the screws are tightened evenly to prevent any wobbling or instability while surfing.
- If you are having trouble installing your fins, try using a little bit of wax or soap to lubricate the screws. This can make it easier to screw them in and prevent stripping.
- Always double-check the placement of your fins before tightening the screws. The placement of your fins can affect the stability and maneuverability of your surfboard, so make sure that they are in the correct position.
- If you are unsure about how to install your fins, don’t hesitate to ask for help. Many surf shops offer installation services, and experienced surfers are often happy to share their knowledge and expertise.
By following these tips and tricks, you can ensure that your surfboard fins are installed correctly and ready to take on the waves.
Conclusion
Installing surfboard fins can be a bit overwhelming for beginners, but with the right tools and knowledge, it can be a breeze. The first step is to choose the right fins for your surfing style and board setup. Consider factors such as the size, shape, and material of the fins, as well as the type of waves you will be surfing.
Once you have chosen the right fins, it’s time to install them. Make sure you have all the necessary tools, including a fin key, screws, and wax. Follow the manufacturer’s instructions carefully, and don’t hesitate to ask for help if you’re unsure.
Remember that the placement and angle of your fins can have a big impact on your surfing performance. Take the time to experiment with different setups and see what works best for you. And always make sure your fins are securely attached before hitting the waves.