If you buy products through links on our site, we may earn an affiliate commission at no additional cost to you.
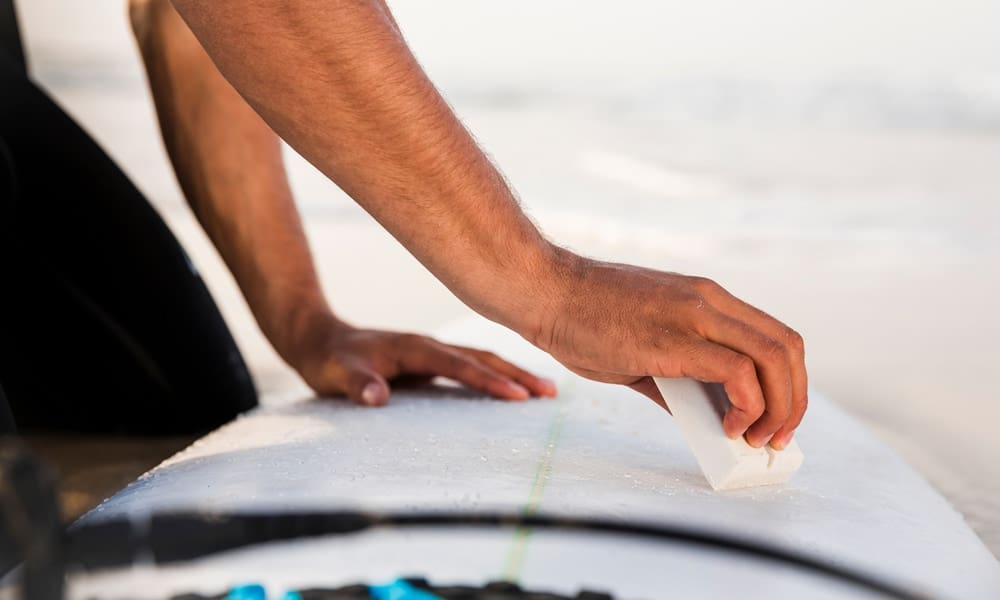
Waxing your board is an important task for any surfer, but if you don’t know how to remove old surf wax from a surfboard later, you’ll end up making more work for yourself further down the track. Old wax will often stay on and create a rough and discoloured residue on your board, and while you won’t need to replace surf wax too frequently, it’s still important to know how to take it off when it eventually starts to look tired and in need of replacement. In fact, the act of removing all the wax from a surfboard and apply a fresh new coat of wax, is quite satisfying and oddly therapeutic.
Surf wax is meant to maintain traction while lying and standing on your board, and your first few surfs after applying a new coat will give you a far more comfortable feeling while you’re on your feet or paddling through the water. If you’ve never had to remove old wax from a surfboard before, it’s not too challenging and anyone can do it. Simply follow these steps, and you’ll be ready to re-wax your surfboard with just a little time and effort.
What You Need

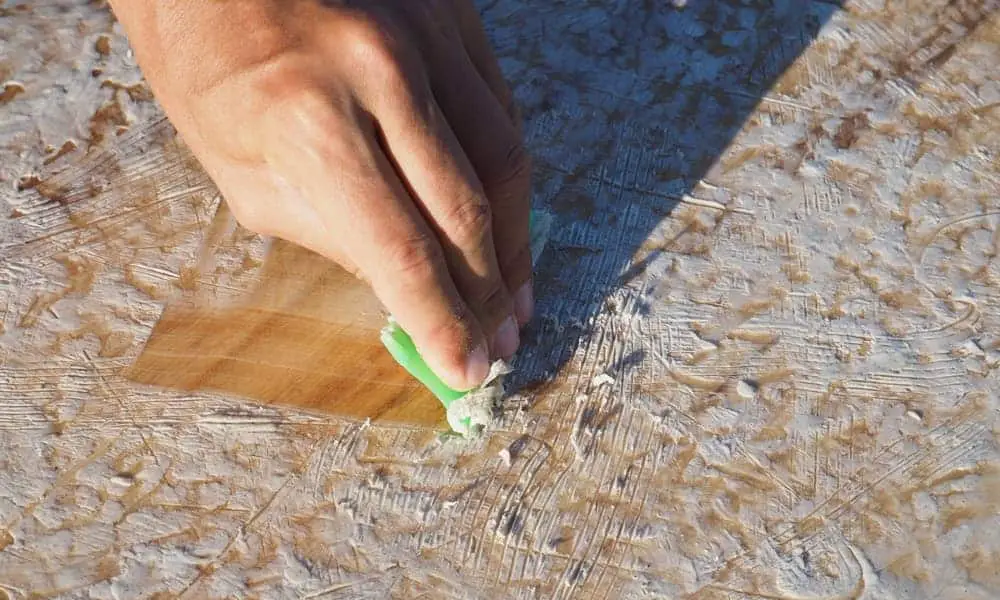
The most important thing you’ll need to remove base coat wax from surfboards is a wax comb, which is a tool specifically designed to remove surf wax without damaging or scratching your board. Wax combs might seem intimidating based on how sharp they are, but so long as you have a solid comb and a comfortable grip, you should be able to handle it easily. Some wax combs can resemble heavy hair tools like the Keenso Two-Piece Comb and Scraper, while others, like the colorful and inexpensive Wax Knuckles, can give you a fun and easy way to hold and remove wax.
Besides your wax comb, the only other tool you’ll really need is a hairdryer or heat gun, as well as some flour. We’ll explain what these tools are used for, but simply put, you can use them to loosen and also to identify leftover wax. This makes these tools important to have if you’re having trouble or keep your board in unusual environments, but they won’t be necessary for every surf wax removal session.
Step 1: Heat Your Surfboard
Surf wax is inherently a meltable substance, and while it should remain waterproof if you’ve made or used a good basecoat wax product, it’ll still eventually deteriorate if left in the sun for long enough. For colder climates, though, you’ll likely need your heat guns or hairdryers, as you can use the focused temperature to help harden the wax and make it easier to hack off with your sharp tool.
If you’re just melting wax by sunlight, you can usually get started with cleaning after about ten or fifteen minutes, and if you use a tool, you should be able to start using your wax comb in about the same amount of time or less. That said, do be careful not to overheat or leave your surfboard out too long, as this could potentially damage your board or make the wax even harder to remove.

Step 2: Use a Wax Comb
Once the wax is easy to see and solid enough to crack off, this is when you can pull your comb out and start rubbing it across your board using the solid side/scraper of the comb (not the comb part) to effectively lift all the wax. Rather than stabbing it directly into your board and risking damage, you’ll want to glide it across with just enough strength to remove the wax without digging into the board itself.
A standard surf wax comb has a comb and scraper sides and generally with enough width that it can take off quite a lot of wax for each scrape. If you find you’re having trouble seeing the wax on your board, you can use flour as an easy-to-clean way to bolden any edges of remaining wax that you can comb against, and you can also use your heating gun or hair dryer again if you find there’s excess wax or an especially hard wax spot.
Step 3: Apply Cold Water
Once your unwanted wax is completely removed, the very last thing you need to do is spray your surface with cold water. This is because your board has just been heated, which can make it more vulnerable to scratches and damage beneath direct sunlight. Using a spray water bottle or splashing with a light hose will let the board recover to its natural state.
Once it’s fully dried, then you’ll be able to apply a new layer of board wax whenever you’re able. There are several base waxes you can use from surf shops and online outlets like Amazon, and you can even make your own homemade surf wax if you decide to take a little extra time. Regardless of which wax you use, make sure you read the package or instructions to ensure you’re applying most appropriate for your location’s water temperature, as it’ll make a significant difference to how your wax performs.
Final Thoughts

This process of removing surf wax from your board can be somewhat tedious, but it’s important to make sure it’s removed properly. Leaving surf wax on your board will make it look worse as it digs into the materials of the board itself, and it can also cause the board to take on a rougher texture. It altogether makes your board harder to clean and apply new wax coats on, so it’s always important to take the time to remove it properly when you feel like replacing your wax coat.
By taking the time to do it right, your board will be much cleaner and stronger. Removing it properly and carefully will improve your surfboard’s health immensely, and it can often become a great occasional meditative activity when done while listening to music or a podcast.
